Do You Need Primer Before Interior Painting Projects
A painting project raises a lot of questions before the first drop of paint goes on the wall. One of the most common is whether primer is actually necessary or just an extra step that adds time and cost to the job.
The answer depends entirely on the surface.
Understanding when primer is needed and what it does can mean the difference between a paint job that holds up for years and one that starts showing problems within months. This blog breaks down what primer does, the specific conditions that make it necessary, and how to evaluate your surface so you go into any interior painting project with the right plan.
What Primer Does Before the Paint Goes On
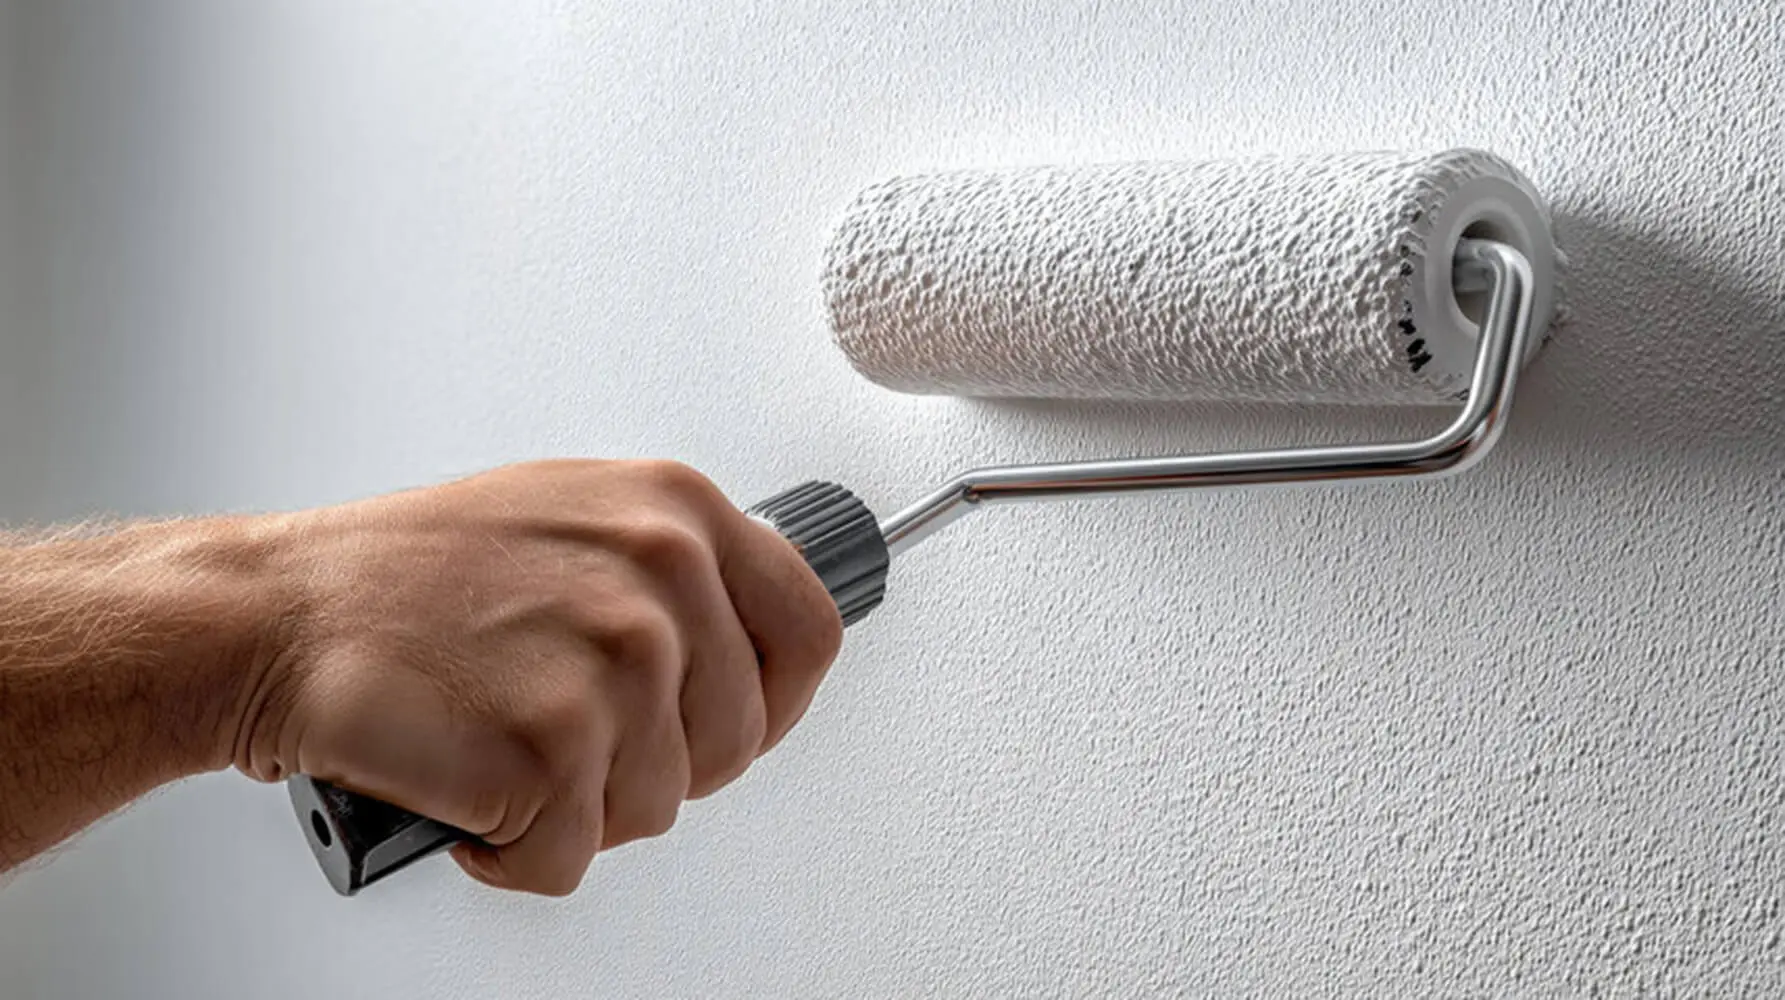
Primer is not a base coat of paint. It is a preparatory coating with a specific job: to bond with the surface and give the paint a stable foundation to adhere to.
Paint and primer are formulated differently and serve different purposes. Paint is designed to deliver color and a finished surface. Primer is designed to prepare the surface so the paint can do that job correctly.
Primer accomplishes three core things:
- Adhesion — helps paint grip the surface rather than sitting loosely on top of it
- Coverage — blocks stains, old colors, and surface inconsistencies from bleeding through the finish coat
- Surface sealing — reduces porosity so paint absorbs evenly across the entire surface
Without that foundation in place, the paint is working against conditions it was never designed to handle.
Do You Always Need Primer Before Interior Painting?
Primer is not a requirement on every surface in every situation. The condition of the surface is what drives the decision. Some surfaces genuinely need primer to perform correctly. Others are ready for paint without it.
Understanding which category your surface falls into is what makes this decision straightforward.
Surfaces and Situations That Require Primer
Certain conditions make primer necessary, not optional. Applying paint directly in these situations leads to problems that more finish coats cannot fix.
- New drywall — the paper facing and joint compound are highly porous and absorb paint unevenly. Without primer, the finish looks flat or patchy in certain light regardless of how many coats go on.
- Bare wood — natural tannins in wood bleed through paint over time and cause discoloration. Primer seals those tannins before they reach the finish coat.
- Stains and odors — water stains, smoke, and nicotine require a stain-blocking primer. Without it, the stain bleeds through any number of finish coats.
- Drastic color changes — going from a deep color to a light one without primer forces multiple extra finish coats to achieve coverage that a single primer coat handles in one step.
- Glossy surfaces — paint does not bond reliably to existing gloss finishes. Primer provides the grip the surface is not offering on its own.
When Paint Can Go On Without Primer
Not every surface requires primer. In the right conditions, paint can go on directly without sacrificing quality or longevity.
Previously painted surfaces in good condition are the clearest example. If the existing paint is clean, structurally sound, and the new color is in a similar range, a high-quality paint can go on without a dedicated primer coat.
Paint-and-primer-in-one products are another option that works in low-demand situations. These are not a universal substitute for a true primer coat, but they perform adequately when the surface is already in good condition and the project does not involve any of the conditions listed above.
The key distinction is that these are not workarounds. They apply only when the surface genuinely does not need primer.
What Happens When You Skip Primer on the Wrong Surface
Skipping primer on a surface that needs it is not a shortcut. It creates problems that show up quickly and cost more to fix than primer would have cost to apply.
Poor adhesion is the most common result. Paint applied directly to a surface that needed primer has nothing to grip. It is more likely to peel, chip, or fail early, particularly in high-moisture areas like bathrooms and kitchens where surfaces expand and contract with humidity.
Uneven absorption is another issue. Porous surfaces pull paint in at different rates across the same wall. The result is a finish that looks inconsistent and dull even after multiple coats, because the surface itself was never stabilized.
Stain and color bleed-through can also appear within weeks. Without a blocking layer between the finish coat and whatever is underneath, the underlying material works its way back to the surface. No amount of additional paint coats resolves this without stripping back to the source.
The cost math rarely works in favor of skipping primer. If a surface requires two or three extra finish coats to achieve the coverage a single primer coat would have provided, the time and material savings disappear quickly.
Knowing Your Surface Makes the Primer Decision Simple
Primer is not always required, but the surface is always what determines whether it is. That distinction matters because the decision is not about preference or saving a step. It is about what the surface needs to hold paint correctly.
Getting that call wrong has a cost. The problems that follow a skipped primer coat on the wrong surface take more time, more materials, and more effort to correct than applying primer would have taken in the first place.
The straightforward approach is to assess the surface before the project begins. Look at what you are painting, what is already on it, and whether any of the conditions covered in this blog apply. When they do, primer is part of the job.
For homeowners who want the assessment done right or want a professional handling the interior painting project from surface evaluation through final coat, 1st Coast Painting is ready to help. Contact us today to schedule a consultation or get a quote.