
Why Surface Preparation Is Important in House Painting
What Paint Is Actually Doing to Your Home
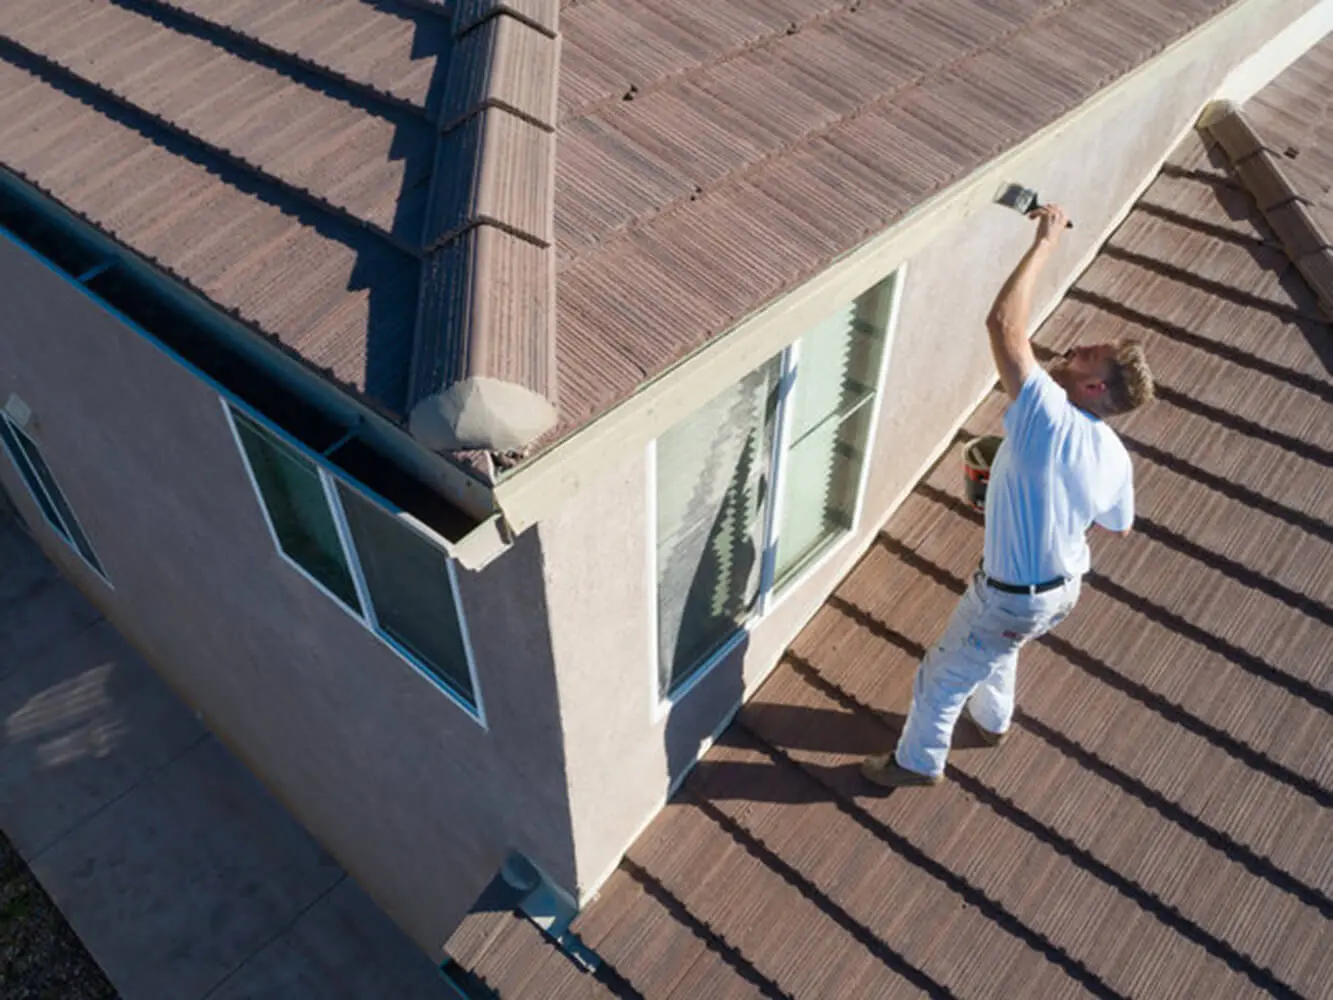
Most homeowners think of paint as cosmetic. A new color, a fresh look, a room that finally feels updated. That’s part of what paint does, but it isn’t all of it. Paint is also a protective barrier. On exterior surfaces, it’s the primary defense between your home’s structural materials and the elements. It seals the substrate, whether that’s wood, stucco, or concrete block, from rain, humidity, and UV exposure. When that barrier breaks down, moisture gets in. Wood rots, stucco cracks from within, and what started as a peeling paint job becomes a repair bill that goes well beyond repainting. On interior surfaces, paint seals and protects drywall from humidity, airborne grease, and the physical wear that comes from everyday life. In kitchens and bathrooms especially, a paint film that can’t hold to the wall leaves the surface underneath vulnerable. In Clay County, paint is doing more work than it would in a mild northern climate. High humidity, intense UV exposure, and heat that rarely lets surfaces fully cool all wear on the paint film constantly. That makes the foundation it’s built on more critical, not less. Prep isn’t about making the paint look good on day one. It’s about giving the paint the surface it needs to do its actual job for years.How Paint Bonds to a Surface
Paint doesn’t just sit on top of a surface. It bonds to it through mechanical adhesion, gripping the texture of the substrate at a microscopic level. For that bond to form and hold, the surface needs to meet three basic conditions:- It needs to be clean, free of dust, grease, mildew, and any contaminant that breaks the bond between paint and substrate
- It needs to be stable, meaning loose paint, soft wood, and deteriorating material are addressed before anything new goes on top
- It needs to be properly sealed so paint absorbs evenly across the entire surface rather than soaking in more heavily in some areas than others
What Happens When Prep Gets Skipped
Paint failure is almost never the paint’s fault. The vast majority of premature peeling, bubbling, and cracking traces back to a prep shortcut. The failure often doesn’t appear immediately, which is part of why the connection gets missed. A job that looks fine at completion can start showing problems within six months. The most common failure modes each have a root cause tied directly to skipped prep:- Peeling and flaking happen when paint can’t grip the surface. The most common causes are painting over dirty or greasy surfaces, failing to remove old loose paint before recoating, and applying paint to a surface that wasn’t fully dry
- Bubbling and blistering are caused by trapped moisture expanding under the paint film. In Florida, this is especially common when surfaces retain humidity at the time of application or when existing moisture damage wasn’t addressed before painting began
- Uneven sheen and lap marks appear when surfaces aren’t sanded and primed consistently. Paint absorbs at different rates across the same wall, and the finish looks patchy even after two or three coats because the problem is in the surface, not the coverage
How the Prep Process Differs Inside and Outside
The goal is the same on every surface: clean, stable, properly sealed, and ready to bond. But interior and exterior surfaces fail for different reasons, which means the prep has to account for different conditions.Interior Surfaces
Interior surfaces are protected from weather but they accumulate their own set of problems over time. By the time most homeowners are ready to repaint, the walls need more than a quick wipe. The most common interior prep requirements include:- Patching and sanding drywall flush before primer goes on. Holes and dings won’t be hidden by paint. They’ll be highlighted, especially in rooms with bright lighting or large windows
- Scuff sanding glossy surfaces before recoating. Previously painted trim, cabinet doors, and bathroom walls finished in semi-gloss all need sanding so the new coat has something to grip. Paint applied to a slick surface without sanding peels from edges and corners first, often within months
- Applying stain-blocking primer on walls with water stains, smoke damage, or wood trim with tannin bleed. Standard primer won’t stop these from bleeding through. The stain will show through every finish coat no matter how many are applied
Exterior Surfaces
Exterior prep has to account for what the surface has already been through and what it will face going forward. UV exposure, rain, humidity, temperature swings, and biological growth all attack the paint from the moment it goes on. The most critical exterior prep steps include:- Treating mildew before painting, not after. In Clay County, stucco and siding hold moisture and mildew grows into the surface texture. Painting over it means the mildew continues growing underneath the new paint and destroys adhesion from behind. Pressure washing before exterior painting removes surface contamination, but the surface also needs adequate dry time before primer goes on. In Florida’s humidity, that dry time is longer than most people expect
- Inspecting and repairing wood surfaces before prep begins. Trim, soffits, and fascia need to be checked for soft spots and rot. Paint over rotted wood fails quickly because the substrate itself is unstable and continues deteriorating under the film
- Sealing hairline cracks in stucco before painting. Paint bridges a crack temporarily but doesn’t seal it. The crack reopens with thermal expansion, allows moisture in, and eventually causes the paint to bubble and separate from the wall
What Thorough Prep Looks Like in Practice
A professional paint job should be mostly prep. The application of paint is the final step in a process that begins with a thorough inspection. The ratio of prep time to paint time on a well-executed job often surprises homeowners who have watched less careful crews work. A thorough professional prep process moves through these stages in order:- Inspection before any work begins. A professional walks the surface and flags prep concerns including mildew, rot, peeling from a previous job, moisture staining, and hairline cracks. These issues affect both scope and timeline and need to be identified before work starts, not discovered mid-job
- Cleaning with the right solution for the surface. Exterior surfaces get pressure washed with appropriate detergent to remove mildew, chalking, and contamination. Interior surfaces get wiped down with a degreaser suited to the room. What’s sufficient in a living room isn’t adequate in a kitchen where grease has been building up for years
- Repairs completed and fully cured before primer goes on. Patching compounds need time to cure and then need to be sanded smooth. Same-day patching and painting produces visible imperfections that paint won’t hide
- Primer selected for the specific surface type. Bonding primer for glossy or previously painted surfaces, stain-blocking primer for problem areas, masonry primer for stucco and concrete block. Using the wrong primer undermines everything applied on top of it






Leave a Reply